ALM – Using “Solution Checker” in a pipeline
In my last post, I explained a Basic ALM process for CDS. In this article, I promised to write about different Quality Gates to improve a pipeline.
Today we will learn how it is possible to use the “Solution Checker” in a pipeline as a Quality Gate (QG). This kind of QG would fit in different parts of the Basic ALM process. For example, before pushing the unmanaged solution to the source control. This would secure a certain level of quality in your Source Control.
Update: As of 16. June 2020 the PowerApps BuildTools are deprecated and will be replaced by the Power Platform BuildTools. Those are GA and fully supported. I have tested the Solutuion Checker described in this post with the new BuildTools. Everything is working as described below.
Adding the Step
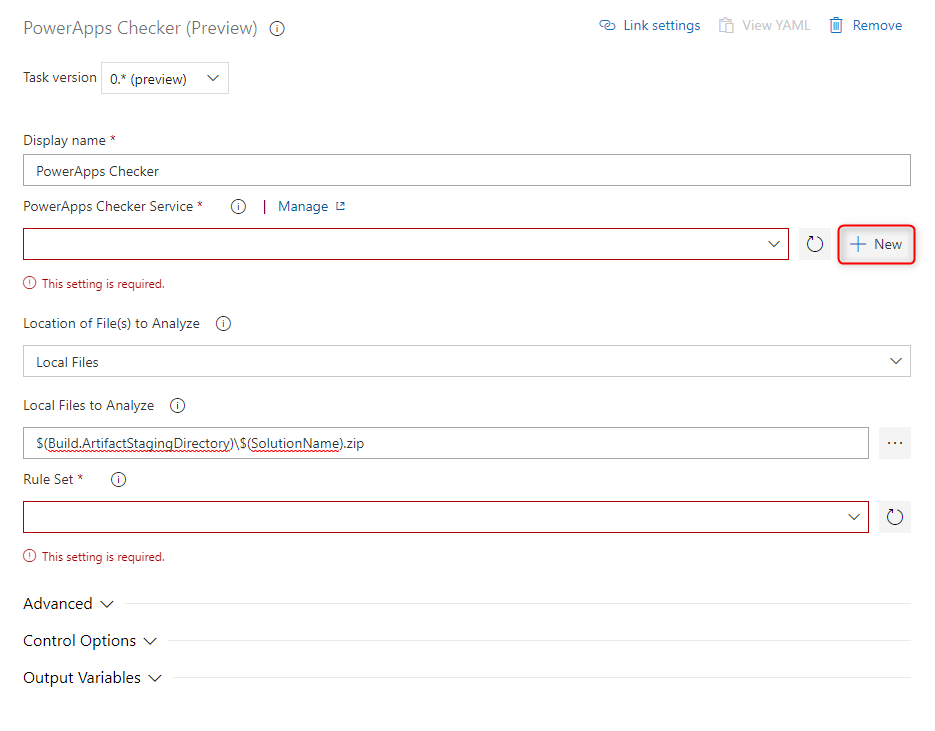
To begin with we have to add a “Power Apps Checker” step to our pipeline. In this example, we will add it to our “Create Export from Dev” pipeline between the “Export Solution” and the “Unpack Solution” step.
When the step is added we have to provide some configuration. In the “Local File to Analyse” we will add the output folder of the previous export step. In our example:
$(Build.ArtifactStagingDirectory)\$(SolutionName).zip
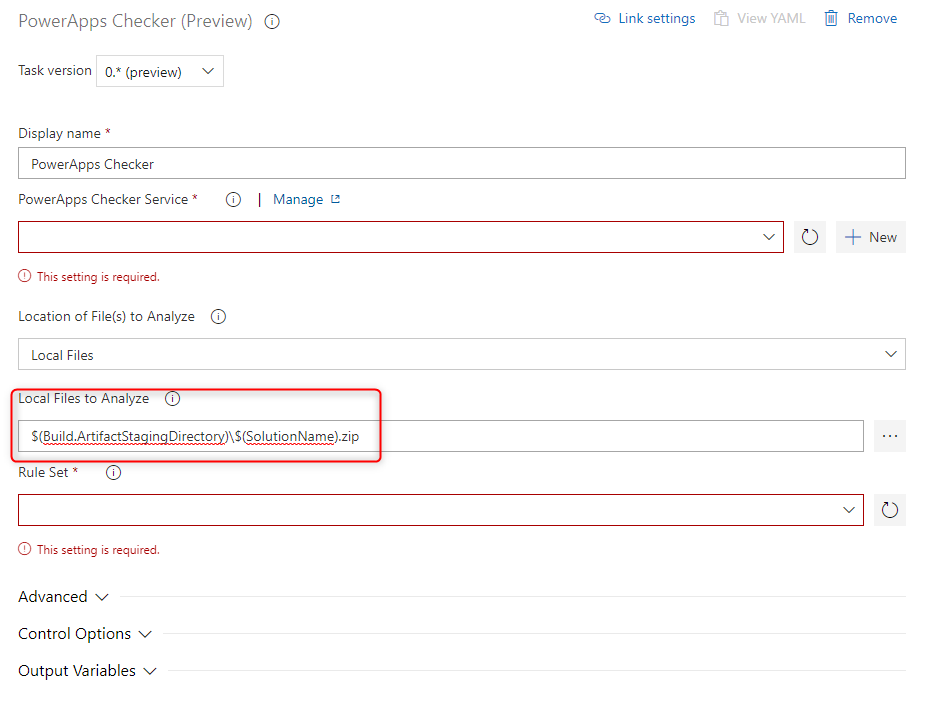
The complex part is the “PowerApps Checker Service”.
Create a “PowerApps Checker Service”
A “PowerApps Checker Service” requires an “App registration” in the Azure Active Directory (AAD).
Create an “App registration”
There are different ways of doing this. In this post, we will do it via a PowerShell script.
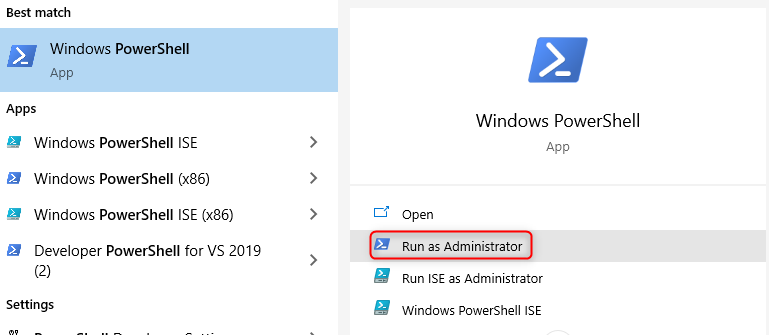
To start with we have to open a PowerShell as an administrator
In the just-opened PowerShell, we have to run the following command to install the needed components.
Install-Module -Name AzureAD
During this process, the system might prompt you to trust the modules from PSGallery. You should select A (Yes to all).
The second step is to run the following script in the PowerShell.
function New-PowerAppsCheckerAzureADApplication
{
    [CmdletBinding()]
    param(
        [Parameter(Mandatory = $true)]
        [Guid]
        $TenantId,
        [Parameter(Mandatory = $true)]
        [ValidateNotNullOrEmpty()]
        [string]
        $ApplicationDisplayName
    )
    # Using AzureAD as the RM modules, AzureRm.Resource and AzureRm.Profile, do not allow for setting RequiredResourceAccess
    Import-Module AzureAD | Out-Null
    try
    {
        Connect-AzureAD -TenantId $TenantId | Out-Null
    }
    catch [Microsoft.Open.Azure.AD.CommonLibrary.AadAuthenticationFailedException]
    {
        Write-Error "Received a failure result from the connecting to AzureAD, $($_.Exception.Message). Stopping."
        return
    }
    $graphSignInAndReadProfileRequirement = New-Object -TypeName "Microsoft.Open.AzureAD.Model.RequiredResourceAccess"
    $acc1 = New-Object -TypeName "Microsoft.Open.AzureAD.Model.ResourceAccess" -ArgumentList "e1fe6dd8-ba31-4d61-89e7-88639da4683d","Scope"
    $graphSignInAndReadProfileRequirement.ResourceAccess = $acc1
    $graphSignInAndReadProfileRequirement.ResourceAppId = "00000003-0000-0000-c000-000000000000"

    $powerAppsCheckerApiRequirement = New-Object -TypeName "Microsoft.Open.AzureAD.Model.RequiredResourceAccess"
    $acc1 = New-Object -TypeName "Microsoft.Open.AzureAD.Model.ResourceAccess" -ArgumentList "d533b86d-8f67-45f0-b8bb-c0cee8da0356","Scope"
    $acc2 = New-Object -TypeName "Microsoft.Open.AzureAD.Model.ResourceAccess" -ArgumentList "640bd519-35de-4a25-994f-ae29551cc6d2","Scope"
    $powerAppsCheckerApiRequirement.ResourceAccess = $acc1,$acc2
    $powerAppsCheckerApiRequirement.ResourceAppId = "c9299480-c13a-49db-a7ae-cdfe54fe0313"

    $application = New-AzureADApplication -DisplayName $ApplicationDisplayName -PublicClient $true -ReplyUrls "urn:ietf:wg:oauth:2.0:oob" -RequiredResourceAccess $graphSignInAndReadProfileRequirement, $powerAppsCheckerApiRequirement
    if ($application -eq $null -or $application.AppId -eq $null)
    {
        Write-Error "Unable to create the application as requested."
    }
    else
    {
        Write-Host "The application $($application.AppId):$ApplicationDisplayName was created in the tenant, $TenantId. You may need to have an administrator grant consent. If running in a userless process, you will need to add a secret or certificate in which to authenticate."
    }
    return $application
}

# Login to AAD as your user
Connect-AzureAD

# Establish your tenant ID
$tenantId = (Get-AzureADTenantDetail).ObjectId

# Create the AAD application registration using the AzureAD module and the sample script
$newApp = New-PowerAppsCheckerAzureADApplication -ApplicationDisplayName "Power Apps Checker Client" -TenantId $tenantId

# Next step => create a secret via the Admin portal, CLI, or PowerShell module.
At the last code row at the end of the script, you can define the name the App registration should have in AAD.
The PowerShell might (it was not the case for me) ask you if you would like to run the software of this untrusted publisher. Here you should select A (Always run).
While executing the script a login popup will appear (i some cases twice). Here you should log in with a user that has enough rights to create an App registration in AAD.
At the end of the script, it will show you the application and tenant ID. Both of them are needed later, make sure to copy them.
Create a Client secret for the Application Registration
Besides the Tenant ID and the Application ID, the Pipeline Step does also need a client secret for the just created App registration.
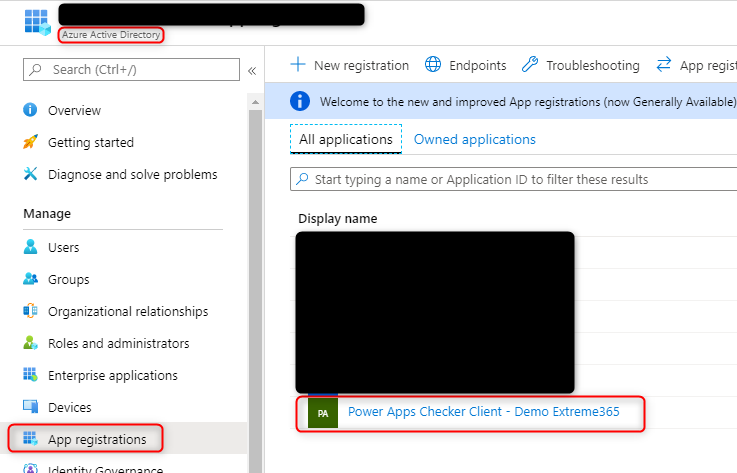
To create this you have to log in to the Azure portal. After you have logged in you navigate to the Azure Active Directory (AAD) > App registration > click on the app you just created.
Here you go to “Certificates & secrets” and click on “New client secret”.
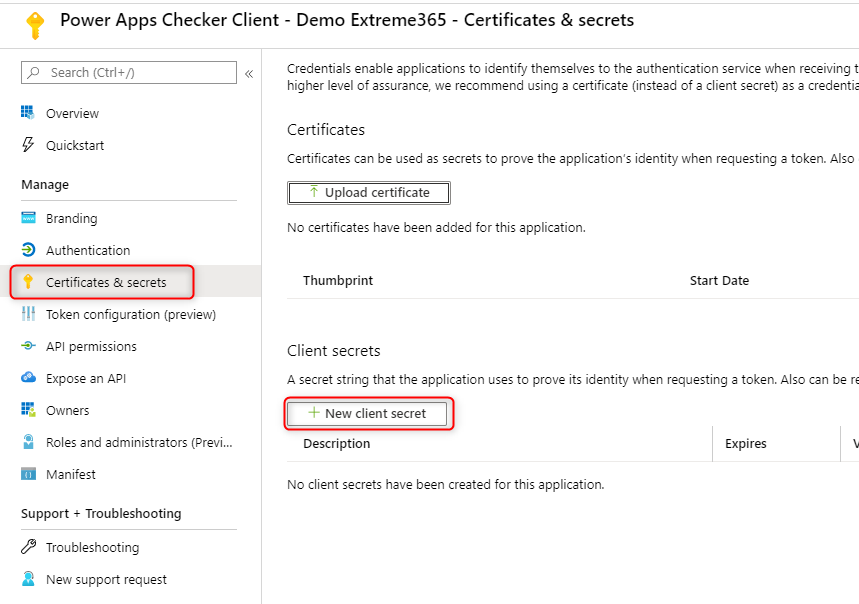
After choosing a description and when the secret should expire it will be shown in the list of secrets.

Make sure to copy the secret since Azure will only show it once.
If you would like to create a secret that lasts longer than 24 months you can find a how-to in one of my other posts.
Bring it all together in the pipeline step
You go back to your Azure DevOps and press the “New” button beside “PowerApps Checker Service”.
In the fly-in that now opens on the right side the information, we gathered in the steps before should be inserted as follows.

The Server URL depends on the region your Tenant is in. Since my demo tenant is in the region “Europe” the URL is the following
https://europe.api.advisor.powerapps.com
You can find a list of the URLs here.
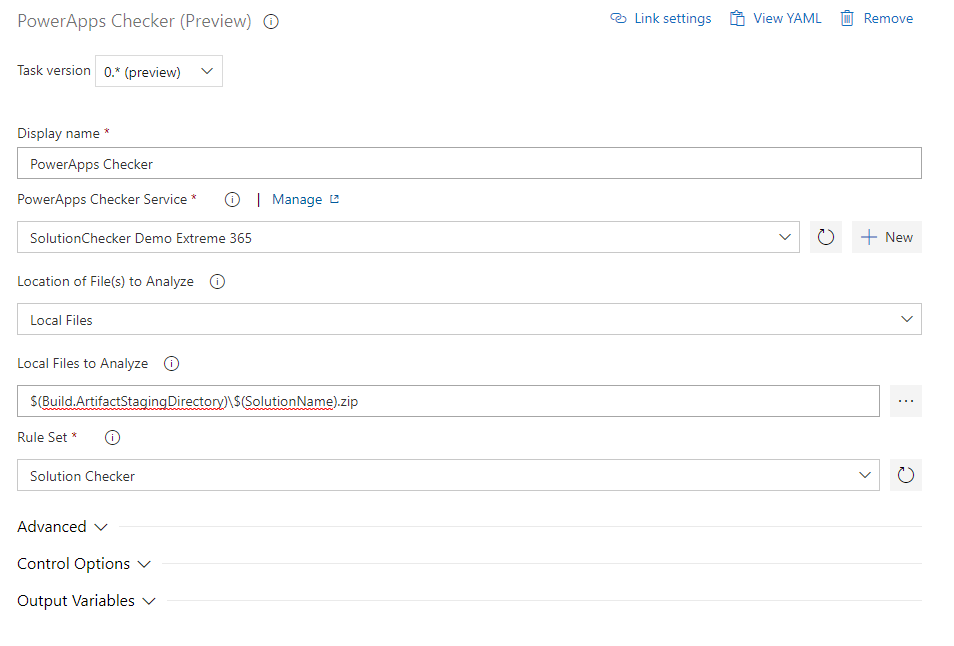
After you have saved the new connection it will automatically be chosen in the pipeline step.
The last thing to do is to choose “Solution Checker” as a “Rule Set”.
Here is the complete step configuration:
Video
I have created a video that explains this topic as well.
You can also subscribe and get new blog posts emailed to you directly.
About The Author
Benedikt
Power Platform Consultant @ CRM Konsulterna
Hi,
Any way to get the result in csv format instead of sarif ?
Thanks for advance
Regards
Jean-Pierre
Hej Jean-Pierre,
unfortunately, I am not aware of any way doing this.